
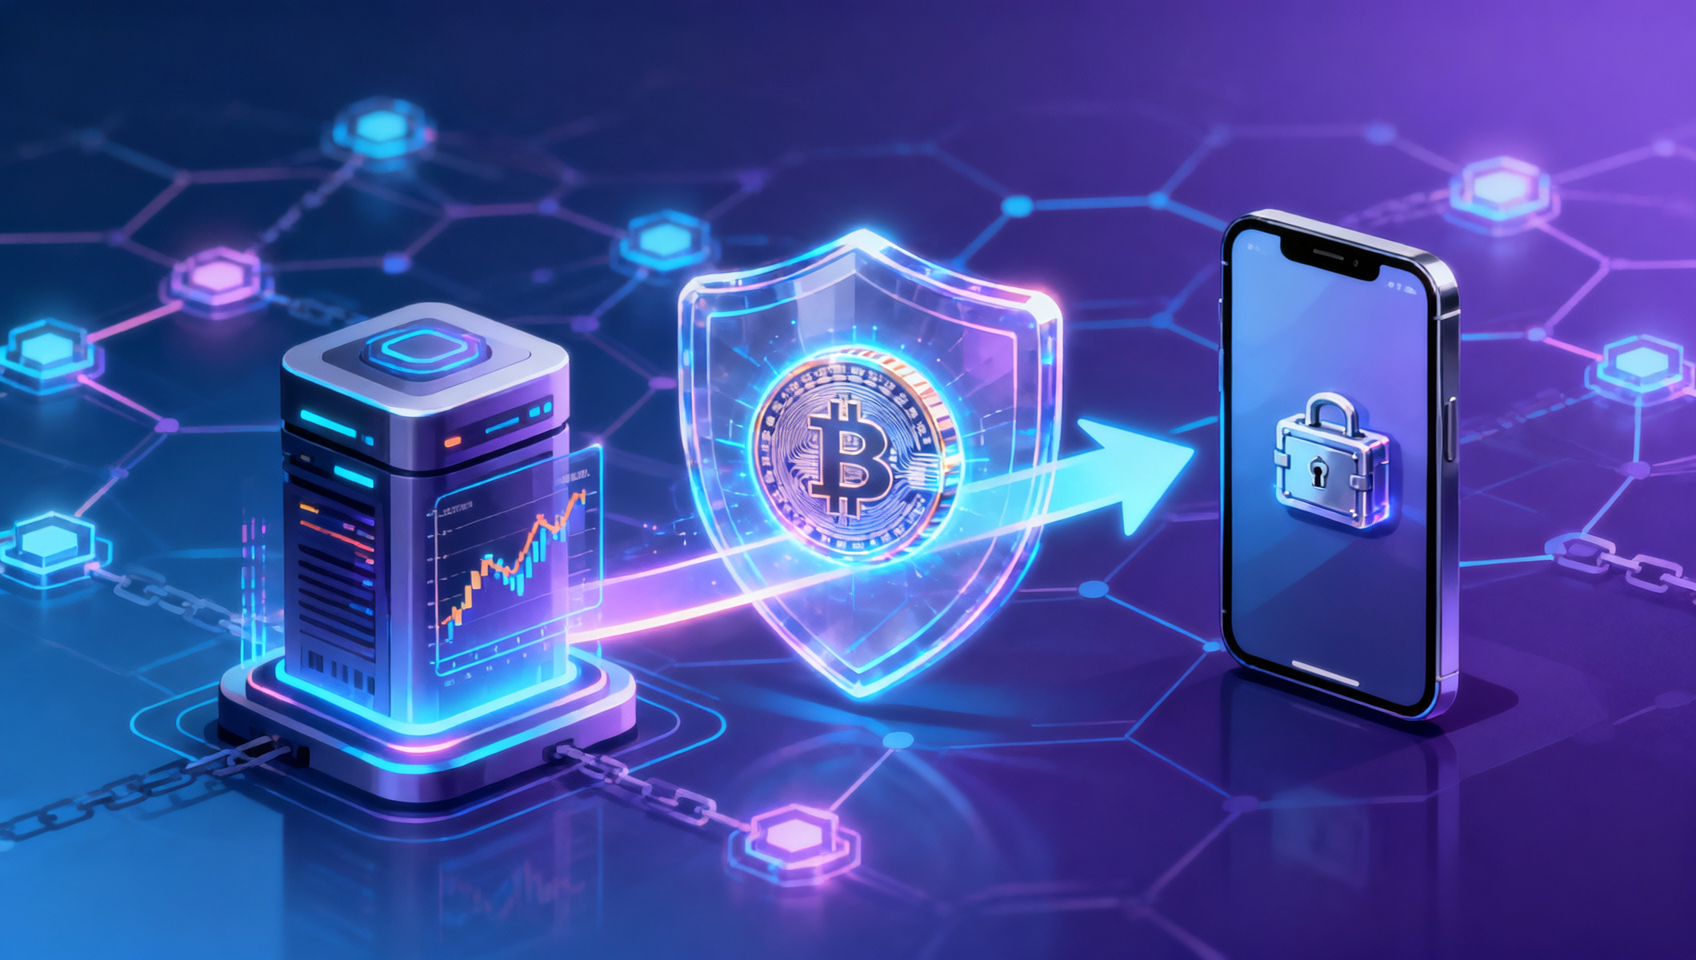


Why You Need to Learn Deposits and Withdrawals
For crypto beginners, after registering on an exchange, completing KYC, and buying your first crypto, you'll soon encounter a common question: How do I transfer coins to a wallet? How do I get them back to the exchange?
This guide answers those questions. Whether you want to:
- 🛡️ Securely hold assets by moving them from exchanges to your personal wallet
- 🔄 Transfer between exchanges to find better trading opportunities
- 🌐 Interact with on-chain applications (DeFi, NFTs, RWA)
- 💰 Send assets back to an exchange to cash out
Mastering deposits and withdrawals is an essential skill. This guide will walk you through the entire process in plain language.
1. Three Core Concepts You Must Understand
Before making any transfer, grasp these 3 concepts to avoid 90% of beginner mistakes.
1️⃣ Deposit Address ≠ Wallet Address ≠ Exchange Account
| Concept | Explanation |
|---|---|
| Deposit Address | The address others send to — a string of characters (e.g., 0xabc...123) |
| Public/Private Key | Your private key controls your assets — whoever has the private key controls the coins |
| Exchange Account | Your coins are custodied by the exchange — you see a "book balance," not on-chain assets |
| Personal Wallet | You hold the private key — assets are truly under your control |
2️⃣ Network Type: The Most Important and Most Error-Prone Setting
The most critical step in any withdrawal — choosing the correct network. Using USDT as an example, it circulates on multiple blockchains:
| Network | Abbr. | Withdrawal Fee | Speed | Best For |
|---|---|---|---|---|
| Tron | TRC20 | Low (~$1) | Fast (1-3 min) | ⭐ Daily transfers |
| BNB Smart Chain | BEP20 | Low (~$0.3) | Fast (1-5 min) | ⭐ Recommended, lowest fee |
| Ethereum | ERC20 | High ($5-15) | Slow (10-30 min) | Only when interacting with Ethereum DApps |
| Solana | SOL | Very low (<$0.01) | Instant (seconds) | Solana ecosystem only |
⚠️ Golden Rule: The sender's network must exactly match the receiver's network. If you copied an ERC20 address from the receiver, you must also select ERC20 on the sender side — choosing the wrong network can permanently lose your assets.
3️⃣ Memo/Tag: The Easily Overlooked Required Field
Some coins (like XRP, ATOM, EOS, Stellar/XLM) require a Memo (Tag/Destination Tag) in addition to the address.
Why is Memo needed? These coins may use a shared deposit address for all users. The Memo distinguishes each user's funds. If a Memo is required but not provided, your assets won't be lost but will require manual processing that could take days or weeks.
2. How to Withdraw from an Exchange to a Personal Wallet (Binance Example)
Using Binance withdrawal of USDT to MetaMask as our example.
Step 1: Get Your Wallet Deposit Address
- Open your MetaMask wallet (or compatible wallet like Trust Wallet, OKX Wallet)
- Choose your target network (recommend BNB Smart Chain for low fees)
- Select USDT, click "Receive" or "Deposit"
- Copy the displayed deposit address (a string starting with
0x)
💡 You may need to add the USDT token contract address to your wallet to see the balance. MetaMask usually auto-detects it; if not, add the USDT contract address manually.
Step 2: Initiate Withdrawal on Binance
- Log in to your Binance account
- Click "Wallet" → "Withdraw"
- Search for "USDT" in the coin search box
- In the Network dropdown, select the option that exactly matches your wallet's network:
- Wallet on BNB Smart Chain → Select BEP20
- Wallet on Ethereum → Select ERC20
- Wallet on Tron → Select TRC20
- Paste the wallet address you copied in Step 1
- Enter the withdrawal amount (check minimum limits and balance)
- The system will show estimated fees and the amount you'll receive
- Click "Submit"
Step 3: Security Verification
Binance will require confirmation via:
- Email verification code
- SMS verification code
- Google 2FA code (if enabled)
Enter all verification codes and submit.
Step 4: Wait for Arrival
- After submitting, Binance processes the request (usually instantly to a few minutes)
- Blockchain confirmation time depends on the network: BEP20 ~1-5 min, TRC20 ~1-3 min
- Check your wallet to confirm the USDT balance has arrived
- Use a block explorer (e.g., bscscan.com for BEP20) to track transaction status
3. How to Deposit from a Wallet to an Exchange
The reverse process is straightforward:
Steps
- Log in to your exchange account (using Binance as example)
- Click "Wallet" → "Deposit"
- Select the coin (e.g., USDT) and network (recommend BEP20 or TRC20)
- The system will generate a deposit address (note: different networks have different addresses)
- Open your wallet and select send/transfer
- Paste the exchange's deposit address
- Select the exact same network
- Enter the amount and confirm the transaction
- Wait for blockchain confirmation — the exchange will automatically credit your account
💡 Always send a small test amount first (e.g., 10 USDT) when transferring to a new address. This takes just a few extra minutes but prevents catastrophic losses from address or network errors.
4. Common Withdrawal Issues & Solutions
❌ Withdrawal Not Arriving After a Long Time
Possible causes and solutions:
| Cause | Solution |
|---|---|
| Network congestion | Check transaction status on a block explorer, wait for more confirmations |
| Exchange processing delay | Check withdrawal history status, be patient |
| Wrong network selected | Contact the sender's customer support immediately with the TXID |
| Missing Memo/Tag | Contact the receiver's support with the transaction hash (TXID) for manual processing |
❌ Wrong Network Selected
This is the most costly mistake. Depending on the asset:
- Mainstream coins + common networks: Some exchanges/wallets support recovery via private key (e.g., ETH addresses may be same on ERC20 and Arbitrum)
- Uncommon combinations: Assets may be permanently locked at the sending address
- Binance/OKX support: Contact with TXID, but recovery success rate is not guaranteed
✅ Best Practice Checklist
- Send a small test first — confirm with a small amount before the main transfer
- Check the network — sender network must exactly match receiver
- Verify first 4 and last 4 characters of the address — prevents copy-paste errors
- Fill in Memo accurately if required
- Save the transaction hash (TXID) — your only proof of the transfer
- Avoid risky environments (public computers, clipboard malware)
5. Summary
Deposits and withdrawals are fundamental crypto skills. Key takeaways:
- Triple-check: Address, network, amount — verify each three times
- Network consistency: This is the most important and error-prone step — ensure sender and receiver networks match
- Small test first: Always test with a small amount when using a new address or network combination
- Protect your private keys: Back up your seed phrase securely after withdrawing to a wallet (no screenshots, no cloud storage, no WeChat messages)
- Choose low-fee networks: Use TRC20 or BEP20 for USDT transfers — low fees and fast confirmation
Master these basics, and you'll be able to move assets safely between exchanges and wallets, unlocking the full potential of the on-chain world.
Disclaimer: This article is for educational purposes only and does not constitute investment advice. Cryptocurrency investment carries high risk. Please make your own informed decisions.
Get Started: Binance | Related Guides: Binance Registration Guide | Binance C2C Guide
📚 Learning Resources:
- On-Chain Guide - Blockchain from Zero — Blockchain basics and on-chain data analysis tutorials
- What Are On-Chain Assets? Wallet to RWA Explained
- CEX vs DEX: Complete Comparison