
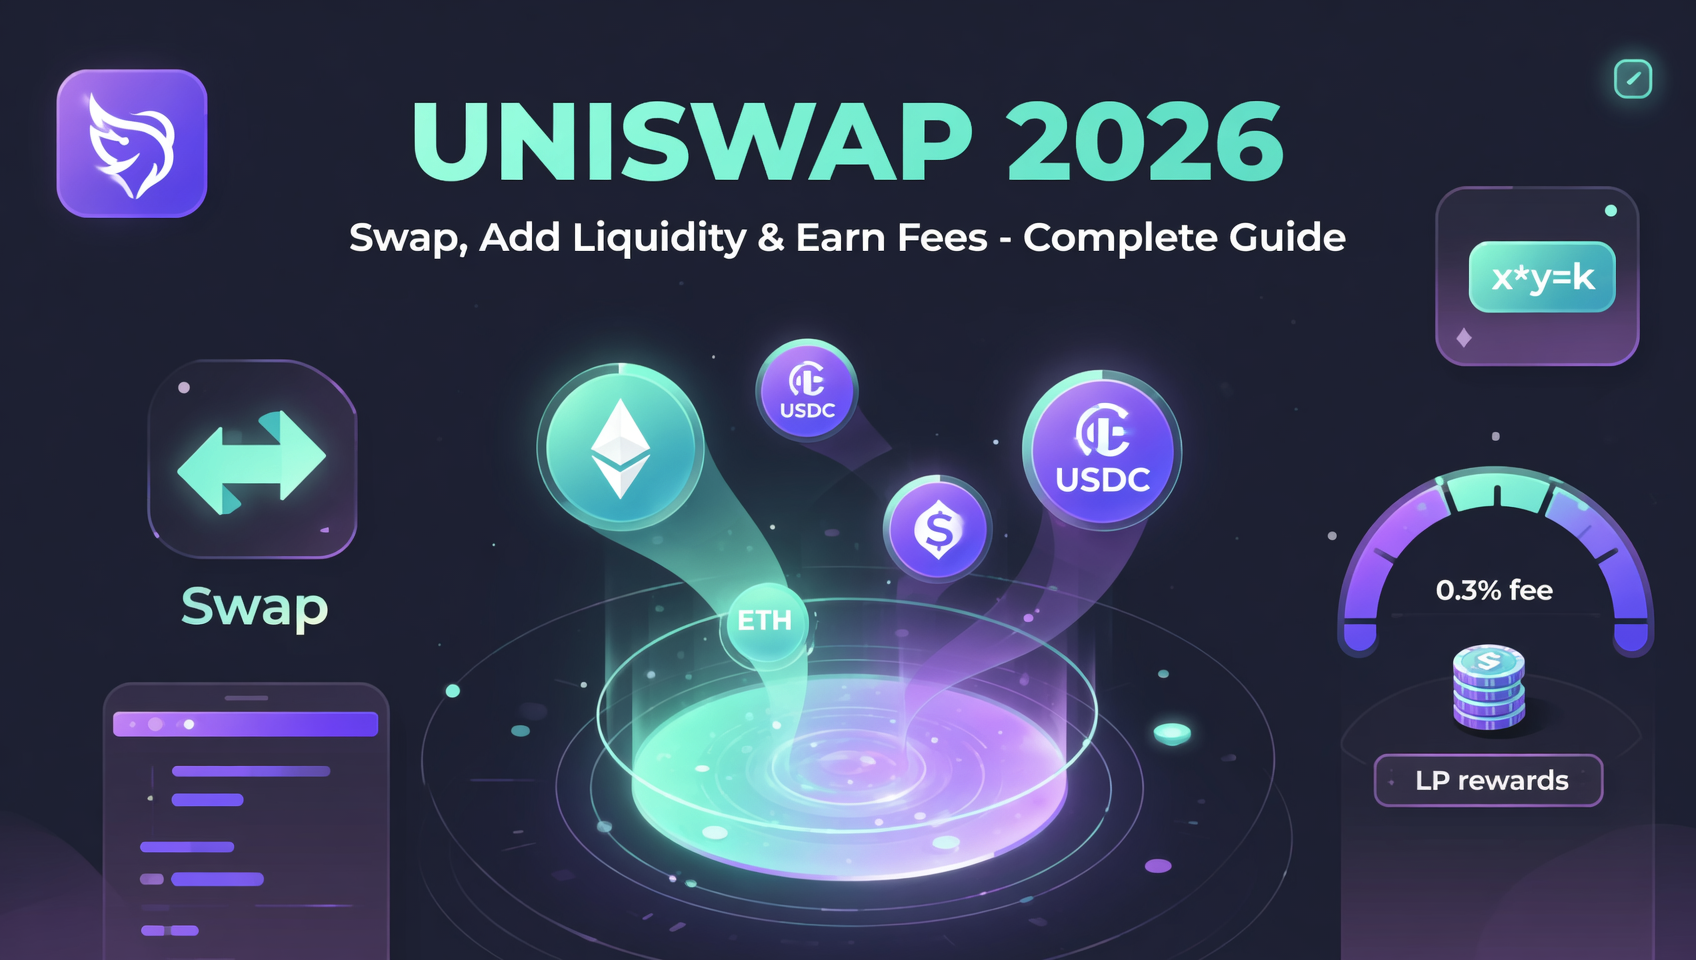
Uniswap Tutorial 2026: How to Swap, Add Liquidity, and Earn Fees (With Real Profit/Loss Calculations)
Complete 2026 Uniswap hands-on tutorial: step-by-step guide to connecting a wallet, swapping tokens, adding liquidity to earn fees, and using $1000 to compare fee income vs impermanent loss. Directly answers whether providing liquidity earns fees or loses money, with a beginner's pitfall checklist and security notes.
Table of Contents
- TL;DR One-Sentence Summary
- First, Clarify "Earning Fees"
- Step 1: Understand Uniswap and the AMM Mechanism
- Step 2: Preparation
- Step 3: Swap Operation
- Step 4: Add Liquidity
- Step 5: How Fees Are Earned
- Step 6: Key Decision—Earn Fees or Lose Money
- Step 7: Remove Liquidity and Manage Positions
- Step 8: Security Notes
- FAQ
TL;DR One-Sentence Summary
Adding liquidity can make money, but what you earn is the difference between "fee income − impermanent loss": stablecoin pairs are almost guaranteed profit, volatile pairs depend on price movements. Using $1000 in an ETH/USDC pool, you net profit when the price is moderate, but net loss when the price triples one-sidedly.
First, Clarify "Earning Fees"
Many tutorials describe Uniswap as "deposit money and earn fees passively", but they miss a key point: the prices of the two tokens you deposit will change. Price increases or decreases both bring impermanent loss, which may eat into or even exceed the fees you earn.
So this tutorial not only teaches you operations but directly answers that high-frequency question—"Does adding liquidity earn fees or lose money?" The answer is:
Fee income > impermanent loss → profit; fee income < impermanent loss → loss. The key is not "whether to add" but "which pool to add" and "how the price will move next".
If you're not yet familiar with the underlying principles of AMM and impermanent loss, it's recommended to first read "DeFi Liquidity Pools and Impermanent Loss Guide", then come back for the hands-on practice.
💡 Don't have crypto assets yet? You can first buy USDC and a small amount of ETH through Binance or OKX, then withdraw to your wallet for operations.
Step 1: Understand Uniswap and the AMM Mechanism
Uniswap is the world's largest decentralized exchange (DEX), created by Hayden Adams in 2018. Its biggest difference from centralized exchanges like Binance and OKX is: no order book, no central matching, no KYC, all transactions are automatically executed by smart contracts.
How does Uniswap match trades?
It uses the AMM (Automated Market Maker) mechanism:
- Users deposit two tokens (e.g., ETH and USDC) into a "liquidity pool"
- The pool automatically prices based on the constant product formula
x × y = k - Traders swap directly with the pool, no need to wait for counterparties
- Fees paid by traders are distributed to all who deposited into the pool (LPs)
Simply put: You deposit money into the pool, acting as a "market maker", and the fees others pay for trading are your source of income.
Uniswap version fee rates
| Version/Pool Type | Fee Rate | Use Case |
|---|---|---|
| Stablecoin pools (USDC/USDT) | 0.01% ~ 0.05% | Low slippage, high-frequency swaps |
| Mainstream blue-chip pools (ETH/USDC, etc.) | 0.3% | Regular trading |
| Long-tail/small-cap pools | 1% | High volatility, low liquidity assets |
In 2026, Uniswap has iterated to V4 (Hooks architecture), but V3's concentrated liquidity is still mainstream; beginners can start with V3's
app.uniswap.org. Fee data is subject to real-time official website, may change.
Step 2: Preparation
You need three things
- An EVM wallet (MetaMask or OKX Wallet)
- A small amount of ETH for gas fees (suggest $10–20 equivalent)
- Assets to swap or provide liquidity (recommend USDC or ETH)
Create a wallet (skip if you have one)
- Visit metamask.io to install the browser extension
- Create a wallet, set a password, write down the seed phrase offline
- Add Arbitrum or Base network (one-click via chainlist.org)
⚠️ The seed phrase is the sole control of your wallet. Anyone who gets it can transfer all your assets. Write it offline, don't screenshot, don't store in the cloud.
Prepare funds and bridge
- Buy USDC and a small amount of ETH on Binance or OKX
- When withdrawing, select Arbitrum One or Base network (not Ethereum mainnet!)
- Suggested amount: $100 USDC + $20 equivalent ETH (for gas)
💡 Why not operate on Ethereum mainnet? A single Swap or add liquidity on mainnet can cost $10–50 in gas, while L2 only costs $0.1–0.5. For beginners doing DeFi, always use Arbitrum or Base.
Step 3: Swap Operation
This is Uniswap's most basic operation and the one you must complete first.
Steps
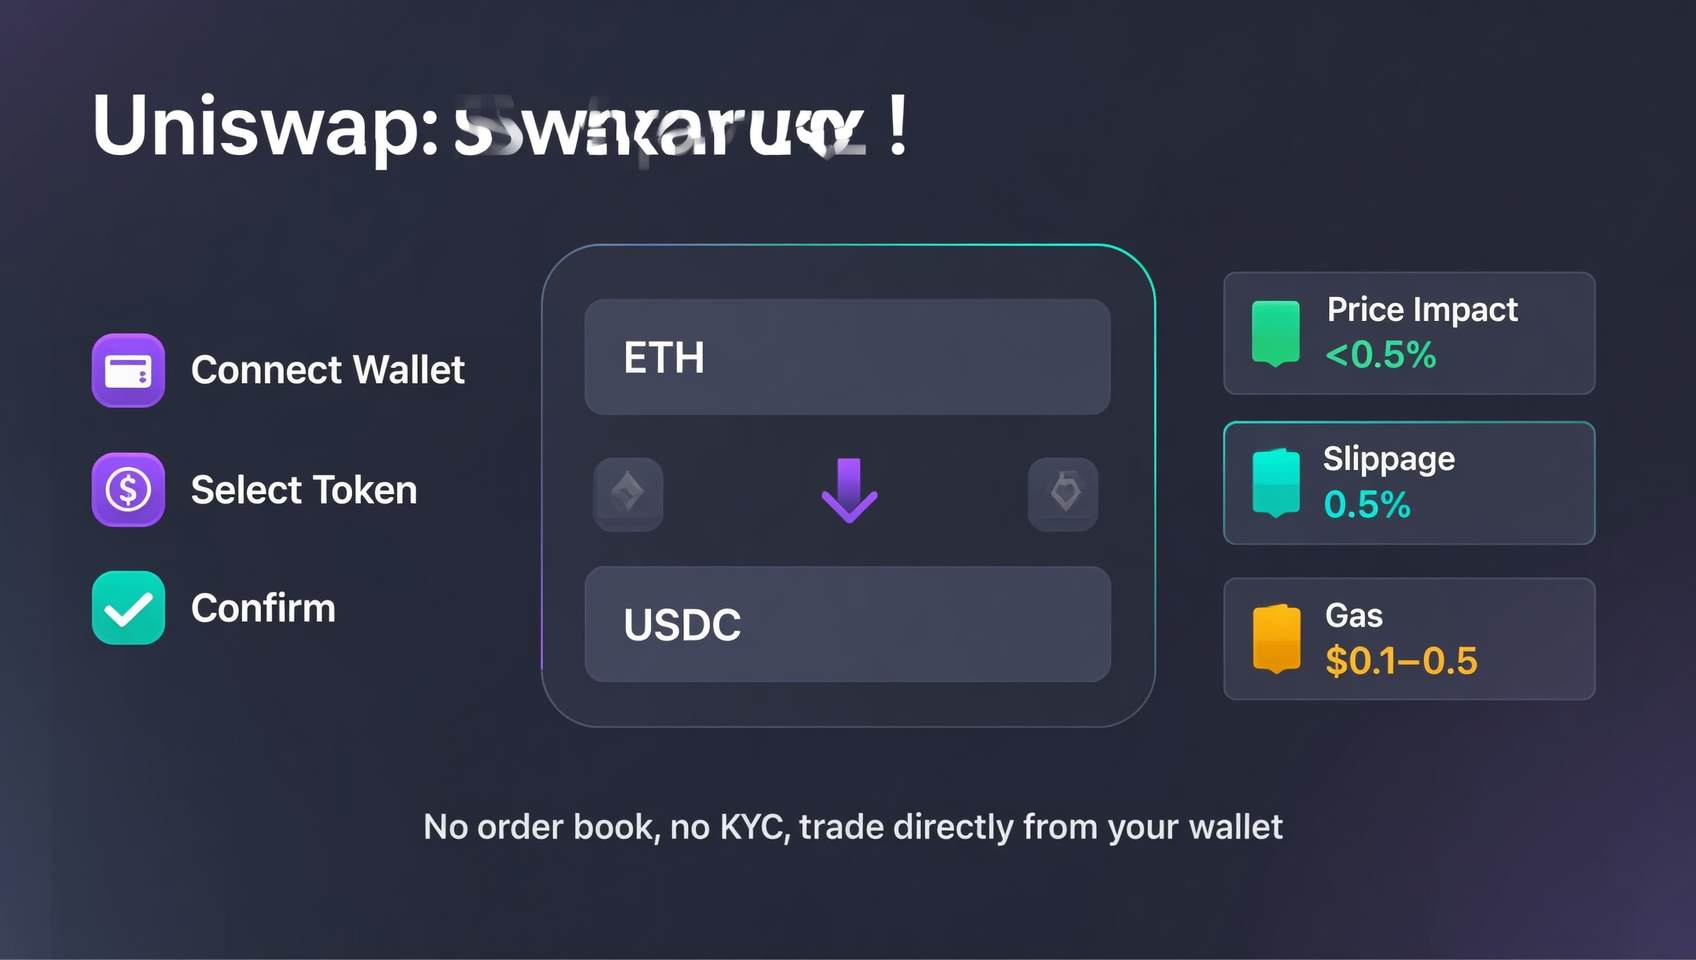
- Open app.uniswap.org, click "Connect" in the top right to connect your wallet
- Confirm your wallet network is Arbitrum or Base
- Select "Swap" at the top
- Select the token to sell (e.g., USDC) above, and the token to buy (e.g., ETH) below
- Enter the amount, the page will show:
- Real-time quote: how much you can get
- Price Impact: the larger the amount and the shallower the pool, the higher the slippage
- Estimated network fee (Gas)
- Click "Swap" → wallet pop-up confirmation → sign/confirm transaction
- Wait for on-chain confirmation (Arbitrum about 10–30 seconds), new tokens arrive
Three numbers every beginner must check
| Metric | Meaning | How to judge |
|---|---|---|
| Price Impact | The impact of your trade on the price | < 0.5% normal; > 2% means the pool is too shallow, be cautious |
| Slippage | Deviation between actual execution price and quote | Default 0.5%; can adjust to 1%–2% for small-cap pools |
| Gas Fee | On-chain network fee | A few cents to tens of cents on L2, $10+ on mainnet |
🔔 High price impact warning: If swapping a small-cap token shows a Price Impact of 5% or higher, it means liquidity is too shallow—you'll push the price up when buying and crash it when selling, easily losing on slippage.
Step 4: Add Liquidity
Once familiar with Swap, you can try being an LP.
Steps
- Select "Pool" → "Add Liquidity" at the top of Uniswap
- Choose a token pair, e.g., ETH/USDC
- Enter the amount of one token, the other will auto-balance according to the pool's current ratio
- Set the price range (V3/V4 concentrated liquidity):
- Beginners can first choose "Full Range", then try narrow ranges after understanding
- The narrower the range, the higher the capital efficiency, but fees stop when the price moves out of range
- Click "Preview" → "Add", confirm the transaction in your wallet
- Receive an LP position representing your share (V3/V4 is an NFT)
✅ Done! Your position starts accumulating fees based on your share.
How to choose the price range?
| Range Choice | Capital Efficiency | Fee Capture | Risk |
|---|---|---|---|
| Full Range | Low | Low | Small impermanent loss, but slow earnings |
| Narrow range (±10%) | High | High | Stops earning when price moves out, requires monitoring |
💡 Beginner advice: Start with "Full Range", understand how impermanent loss and fees work, then gradually try narrow ranges. Concentrated liquidity is an advanced play; don't set very narrow ranges right away.
Step 5: How Fees Are Earned
Income formula
Your fee income = pool total trading volume × fee rate × your share percentage
- Trading volume: the more active the market and the more frequently the pool is used, the more fees
- Fee rate: 0.3% for blue-chip pools, lower for stablecoin pools
- Share: the proportion of your deposited funds to the pool's total funds
2026 reference yields
| Pool Type | Annualized Fee Share (APY) | Impermanent Loss | Suitable For |
|---|---|---|---|
| Stablecoin pairs (USDC/USDT) | 4% ~ 8% | ≈ 0 | Those seeking stability, top choice for beginners |
| Blue-chip pairs (ETH/USDC) | 8% ~ 20% | Medium | Those who can tolerate volatility |
| Long-tail/new token pairs | Possibly very high | Extremely high | ⚠️ Not recommended for beginners |
Data is a common range for blue-chip pools in September 2026, fluctuates with market conditions, may change. Pools with absurdly high APY often correspond to the risk of "token price going to zero".
Step 6: Key Decision—Earn Fees or Lose Money
This is the most core section of the entire article. LP's real return = fee income − impermanent loss.
Using $1000 to calculate three scenarios
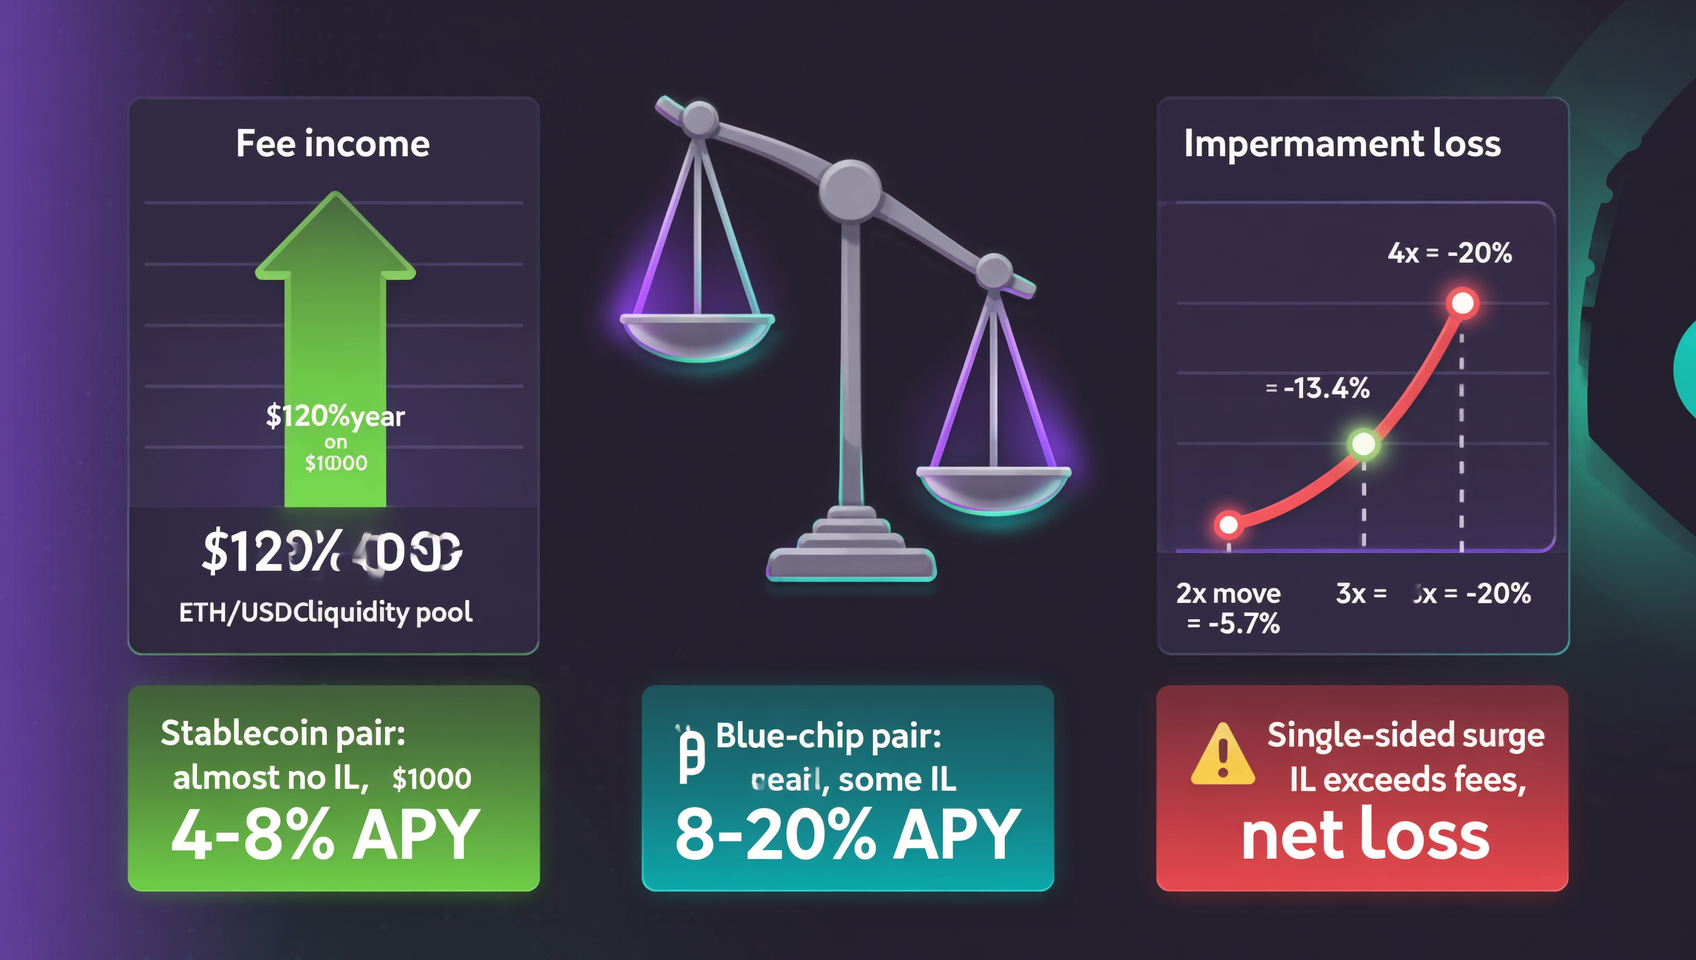
Assume you deposit $1000 ($500 ETH + $500 USDC) into an ETH/USDC (0.3%) pool, with an annualized fee share of about 12%:
| Scenario | Price Change | Fee Income | Impermanent Loss | Net Return |
|---|---|---|---|---|
| A: Stable/moderate rise | ETH within ±20% | +$120 | ≈ −$10 | +$110 (11%) |
| B: Doubles | ETH +100% | +$120 | −$57 (5.7%) | +$63 (6.3%) |
| C: Triples | ETH +200% | +$120 | −$134 (13.4%) | −$14 (−1.4%) |
What does this table show?
- When the price is stable, fees are pure profit, the best experience
- When the price rises moderately, fees can cover impermanent loss, still net profit
- When the price surges one-sidedly, impermanent loss exceeds fees, you will have a net loss—even if you hold a blue-chip like ETH
A more critical point: you "earn less" during a surge
In scenario C, if you simply held $500 ETH, ETH tripling would become $1500, total assets $2000. But as an LP, what you get back is the "auto-rebalanced ratio"—ETH rose too much, the pool continuously sells your ETH for USDC, causing you to hold less ETH. This is the essence of impermanent loss: it's not "losing money", but "earning less than simply holding", except when the underperformance exceeds fees, the account becomes a net loss.
🚨 One-sentence conclusion: To earn fees as an LP, the most comfortable market is "choppy" or "moderate rise"; the most uncomfortable is "one-sided surge or crash". Choosing stablecoin pairs can bypass this issue, at the cost of lower yields.
Step 7: Remove Liquidity and Manage Positions
How to withdraw liquidity
- Find your position on the "Pool" page
- Click "Remove Liquidity"
- Select the withdrawal ratio (25% / 50% / Max all)
- Confirm the transaction, both tokens are returned to your wallet at the current ratio
Two "pitfalls" of concentrated liquidity positions
If you use V3/V4 concentrated liquidity, note two things:
- Price moves out of range: the position automatically becomes "all held in the weaker token", and stops earning fees. You need to manually withdraw or reset the range.
- Range too narrow: the price crosses the range back and forth, you frequently "exit → re-enter the range", and earned fees are eaten by gas costs.
💡 Management advice: Check your position weekly to confirm the price is still in range; use DeBank or Zapper to monitor your LP position and impermanent loss.
Step 8: Security Notes
DeFi security responsibility is 100% on you, four iron rules:
🚨 Anti-phishing
- Always use the official app.uniswap.org entry, bookmark it
- Don't enter from search result ads, Telegram, or X DM links
- Use Rabby wallet (warns about suspicious sites)
🔑 Approval management
- The first Swap will require you to "approve" the token, pay attention to the approval amount
- Choose exact amount, not "unlimited"
- Use Revoke.cash to revoke unnecessary approvals when done
💰 Pool selection principles
- Only trade blue-chip pairs: ETH / USDC / USDT, etc., long-tail small-cap pools may go to zero overnight
- Don't be tempted by ultra-high APY—that's compensation for "going to zero risk"
📊 Risk discipline
- Test with small positions, increase after proficiency
- Impermanent loss and smart contract risks always exist, only invest what you can afford to lose
- For related operational details, see "DeFi Approval Security: How to Revoke Contract Approvals"
FAQ
Q: Can you really make money by adding liquidity on Uniswap?
Yes, but with a condition: fee income must exceed impermanent loss. Stablecoin pairs have impermanent loss ≈ 0, almost guaranteed profit; volatile pairs depend on price movements, net profit when stable or moderate rise, net loss when tripling one-sidedly. Whether you make money depends on "which pool you choose" and "how the price moves".
Q: What's the difference between Uniswap fees and centralized exchange fees?
On centralized exchanges, you pay fees to the platform, which matches orders; on Uniswap, you pay fees to the liquidity pool, distributed to all LPs. In terms of rates, Uniswap's mainstream pool 0.3% is usually higher than Binance spot 0.1%, but Uniswap requires no registration, no KYC, and assets are always in your custody.
Q: What's the minimum amount to add liquidity?
Theoretically any amount, but considering gas fees, at least $100 is recommended. On Arbitrum/Base, gas is only $0.1–0.5, so $100 is feasible; on Ethereum mainnet, gas is $10–50, so $500+ is recommended. Beginners should start with $200–500.
Q: Can LP positions be sold or transferred?
V2 gives you LP Tokens, which can be collateralized, lent, or sold; V3/V4 positions exist as NFTs, which can be transferred or used in yield strategies. The most direct action is to go back to the Pool page and "Remove Liquidity" to withdraw.
Q: What is impermanent loss? How to avoid it?
Impermanent loss is the difference by which LP underperforms simply holding the two tokens; at 2x price, loss is about 5.7%; at 3x, about 13.4%. Ways to avoid: use stablecoin pairs, use concentrated liquidity with reasonable ranges, only trade blue-chip pairs, withdraw before sharp movements. See the "Impermanent Loss Guide" at the end.
Q: Is Uniswap safe?
Uniswap contracts have undergone multiple audits, and the protocol itself has never been hacked due to contract vulnerabilities. The real risks are on the user side: phishing sites, unlimited approvals, insecure wallets. Stick to the official entry, exact approvals, and offline seed phrase storage.
Q: Should beginners start with Swap or adding liquidity?
Start with Swap. First complete the loop of "connect wallet → swap → receive tokens", get familiar with gas and on-chain confirmations, then touch liquidity. It's recommended to practice with a $20–50 Swap first, then try LP with larger amounts.
Summary
Through this tutorial, you've mastered Uniswap's core gameplay:
- ✅ AMM mechanism—you deposit money as a "market maker", others pay fees for trading
- ✅ Swap—connect wallet to swap tokens, no registration or KYC
- ✅ Add liquidity—provide LP, earn fees based on share
- ✅ Key judgment—real return = fees − impermanent loss, choose the right pool to profit
- ✅ Security discipline—official entry, exact approvals, only blue-chips
Next steps
- Just starting: Use $20–50 to do a Swap on Uniswap, get familiar with the process
- Advanced: Use $100–200 to add liquidity in a stablecoin pool (USDC/USDT), feel the fee accumulation
- Deep dive: After understanding impermanent loss, try the ETH/USDC blue-chip pool and concentrated liquidity
You've probably realized: Uniswap's operations aren't complex, the core is just "Swap tokens" and "add liquidity to earn fees". What truly determines whether you profit or lose is not operational proficiency, but "which pool you choose" and "your understanding of impermanent loss".
Further Reading
- DeFi Liquidity Pools and Impermanent Loss Guide 2026: Uniswap Market Making, LP Yield and Risks
- What is DeFi? Complete Beginner's Guide to Decentralized Finance
- DeFi Approval Security: How to Revoke Unused Contract Approvals
- Aave Deposit and Lending Tutorial: Complete 2026 DeFi Passive Income Hands-On Guide
- On-Chain Guide—More blockchain education and on-chain operation tutorials
Disclaimer: This content is for learning reference only and does not constitute investment advice. DeFi operations involve smart contract risk, impermanent loss risk, market risk, and liquidity risk. Please make decisions carefully based on your own situation.